Building for a Meta Quest Headset
This section walks you through building your ![]() Experience as a standalone
Experience as a standalone .apk application for the Meta Quest headset, allowing it to run directly on the device without requiring a tethered PC connection. Watch the video walkthrough for a detailed, step-by-step guide, or expand the dropdown below to follow the written instructions for generating your Quest-compatible build:
- Connect your headset: Plug in your Meta Quest via USB-C and connect to Quest Link.
- Check project settings:
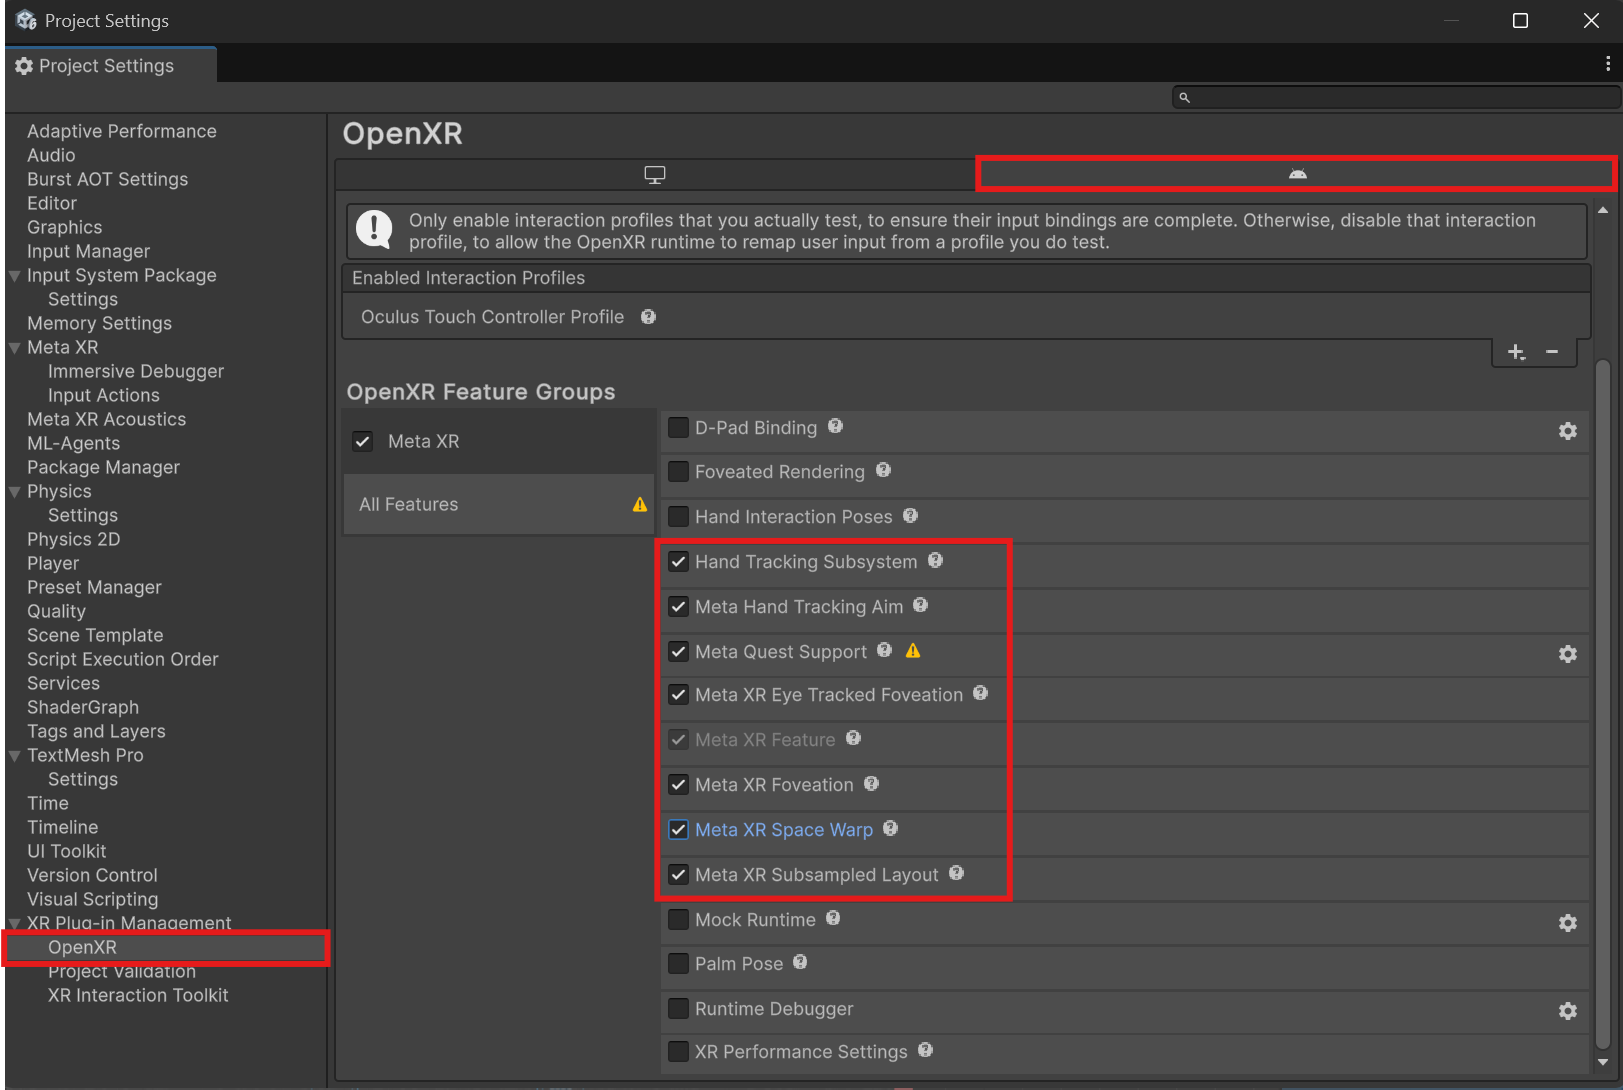
- Under Project Settings > Meta XR, apply any suggested changes on the android tab.
- Under XR Plug-in Management, toggle the following Android settings:
- Hand Tracking Subsystem
- Meta Hand Tracking Aim
- Meta Quest Support
- Meta XR Eye Tracked Foveation
- Meta XR Feature
- Meta XR Foveation
- Meta Space Warp
- Meta XR Subsampled Layout
- Set starting point: In
 , open the
  Epoch where the
  Experience should begin.
 - Prepare your build:
- Open Unity Build Profiles by clicking on
 Build Mode on the starting Epoch.
 - Set the platform to Android and wait for it to update.
- Ensure the correct Scene is selected.
- Open Unity Build Profiles by clicking on
- Build and deploy:
- Click Build and Run.
- Accept the ‘Unsupported Input Handling’ dialogue.
- Test on device:
- If the build succeeds, unplug the USB-C cable.
- Put on your headset to try the standalone app.
Your ![]() Experience is now exported to the headset and ready to be deployed in standalone. All the data from the
Experience is now exported to the headset and ready to be deployed in standalone. All the data from the ![]() Experience is saved directly on the headset!
Experience is saved directly on the headset!
Retrieving Data from Headset
When running a standalone ![]() Experience on a Extended Reality (XR) headset, all the data files in CSV format are saved directly on the headset’s internal storage. The easiest method to retrieve this data is to use an external application like SideQuest. This application allows you to access and extract saved data from the headset’s memory as well as upload
Experience on a Extended Reality (XR) headset, all the data files in CSV format are saved directly on the headset’s internal storage. The easiest method to retrieve this data is to use an external application like SideQuest. This application allows you to access and extract saved data from the headset’s memory as well as upload ![]() Experiences in .apk format from your computer to the headset.
Experiences in .apk format from your computer to the headset.
Step 1: Download SideQuest
In your web browser, navigate to this page and download the SideQuest Desktop App.
Troubleshooting
If you are getting the error message below, it is likely because your headset is not detected.
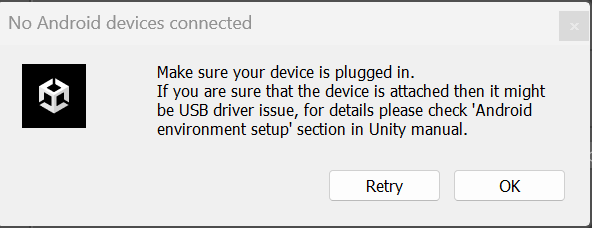
Here are a few steps to resolve the issue:
- Ensure your headset is logged in to the same Meta account as the one on your Quest Link application on your computer.
- Verify that your headset is in Developer Mode. You can enable this through the mobile app. For instructions, refer to the "Enable Developer Mode" section in the dropdown on this page of our documentation (specifically Step 4).
- After completing the steps above, restart both your headset and computer.
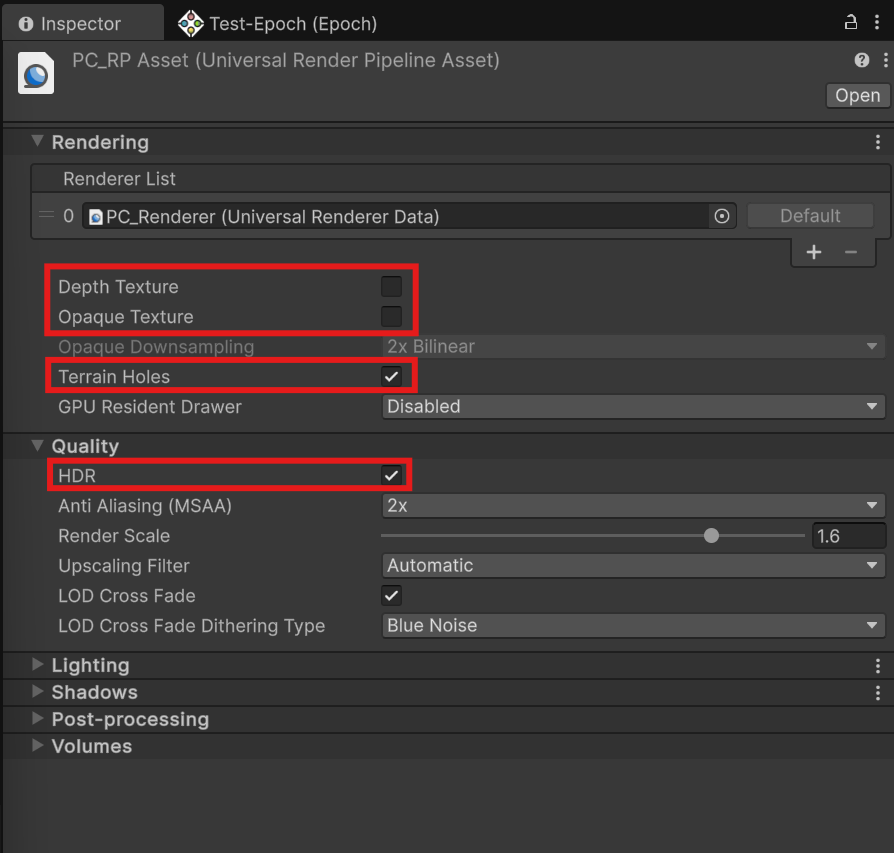
This is likely an issue with the Render Pipeline Assets, these assets control how the environment is rendered from within the headset. You'll need to check the settings on the PC_RP Asset.
This is likely due to the OpenXR settings in your Unity Project settings. Ensure these settings are properly configured before building your ![]() Experience:
Experience:
If your build was successful the application will start automatically on your headset once it is finished. To exit the application, you'll want to look at your right hand with the palm of your hand facing towards you until you can see the oculus logo. Then pinch your index and thumb quickly together to get access to the Meta menu. From there you can choose to quit the application.
If you want to restart the application, simply click on the application logo in the toolbar!
If your build was successful the application is now installed on your headset. It should automatically appear in your application toolbar with the Unity Logo. If it is not on your toolbar you can also find it by navigating to the Library and then 'Unknown Sources'. It should be listed there, click to open it!