Passthrough
Passthrough allows participants to step outside their immersive view and see their real-world surroundings while wearing an Extended Reality (XR) headset. This feature uses external cameras on the headset to enable a mixed-reality ![]() Experience, blending virtual and physical environments.
Experience, blending virtual and physical environments.
Setting up Passthrough
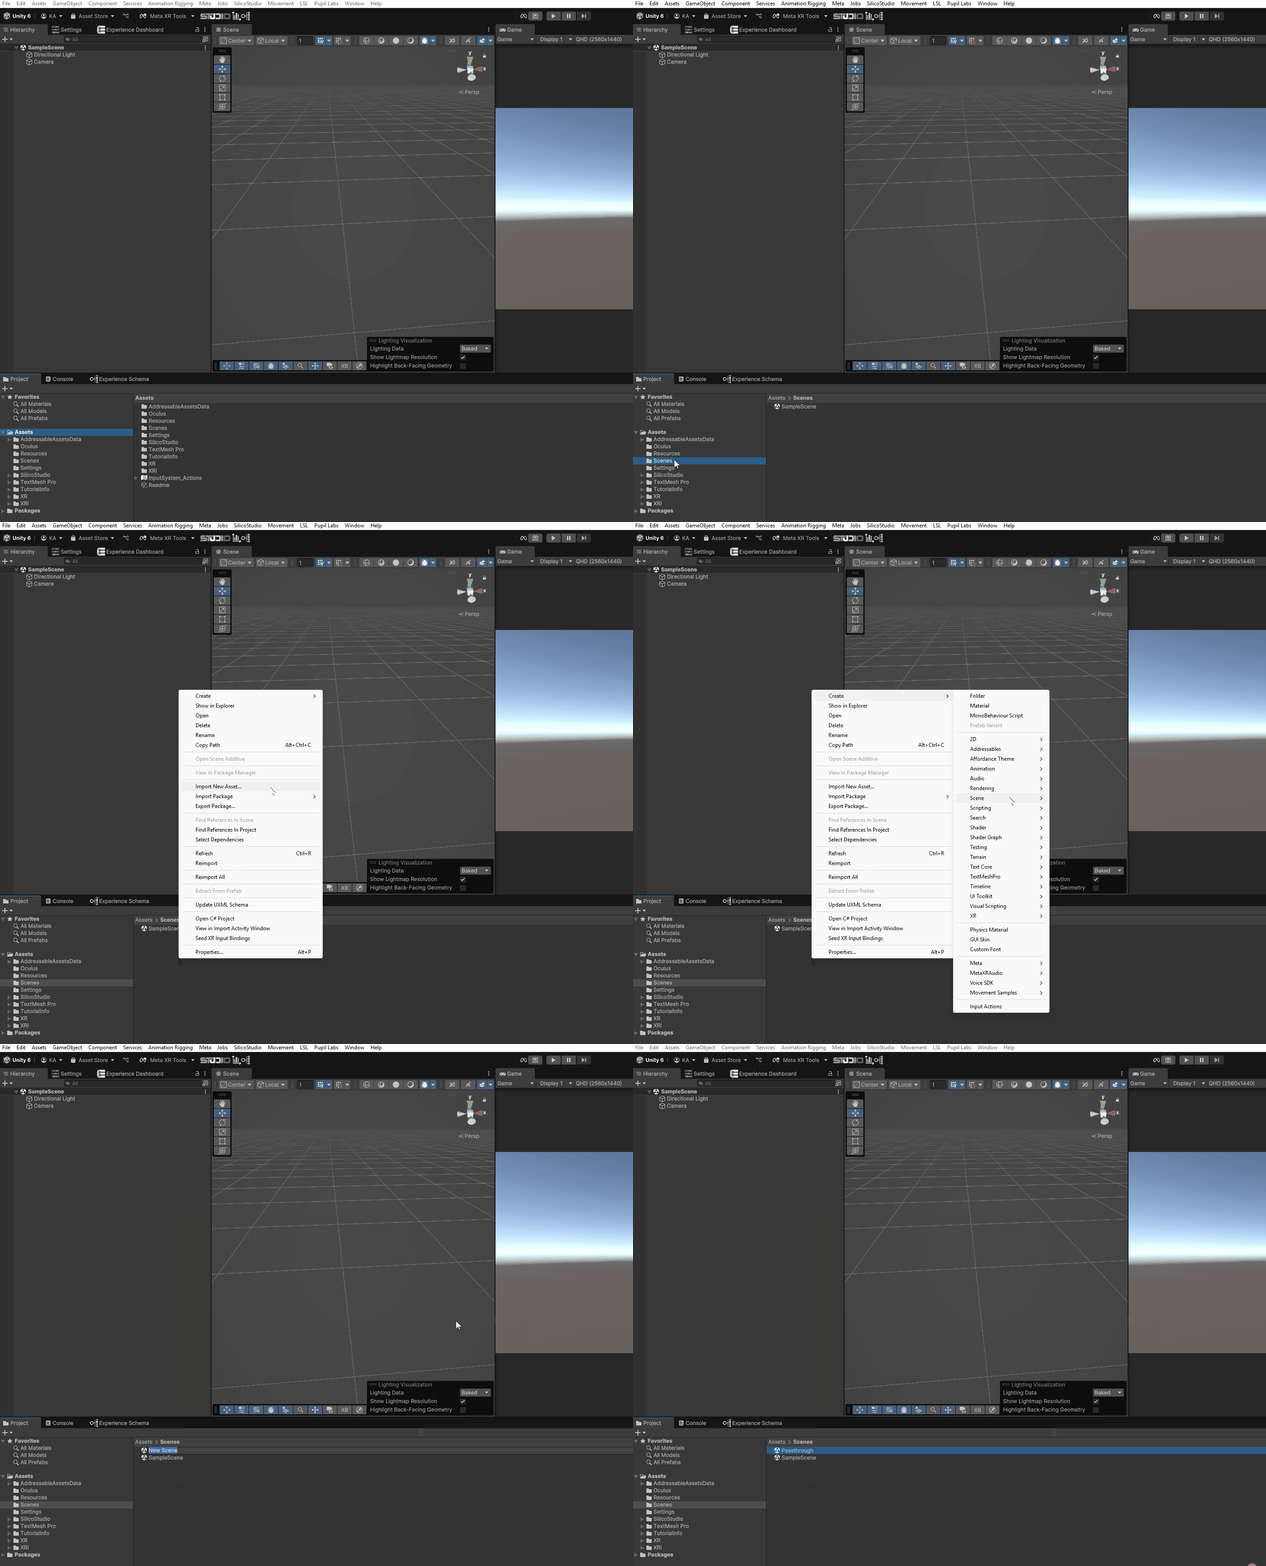
Step 1: Create a Scene
In Unity, open the Project window in the bottom-left corner. Navigate to the Assets folder, then open Scenes. Right-click inside the Scenes folder and select 'Create' and 'Scene'. Give it a clear name to indicate it's for passthrough, such as [name_of_your_Experience]_Passthrough.

Passthrough Settings
Layer Settings
Placement controls whether the passthrough layer appears behind or infront of other content in the scene. .
- 'None':
Does not place the passthrough layer. The participant will still see all the elements in the scene, but everything else around will be black. - 'Underlay':
Places the passthrough layer under all other elements in the scene. This is the default placement of Passthrough, it allows participants to see and interact with elements while seeing the real environment around them. - 'Overlay':
Places the passthrough layer on top of all other elements in the scene, hiding them from the participant.
Color Settings
Colour Map provides a number of different techniques to map each input color to a different output color:
- 'None':
Display passthrough images unchanged. - 'Color Adjustment':
Adjust the image’s brightness, contrast, and saturation. Saturation adjustment only has an effect on devices that support color passthrough. - 'Grayscale':
Adjust brightness and contrast and apply a posterization effect to grayscale passthrough images. Color passthrough images are converted to grayscale first if this option is chosen. - 'Grayscale To Color':
Colorize grayscale passthrough images, adjust brightness and contrast, and apply a posterization effect. Color passthrough images are converted to grayscale first if this option is chosen. - 'Color LUT':
Apply a color look-up table (LUT), which maps each RGB input color into an arbitrary RGB(A) in the passthrough image stream. - 'Blended Color LUTs':
Apply the blend between two color LUTs to the passthrough image stream. This option can be used to smoothly transition between two color LUTs.